How to Use Photoshop Overlays
Overlay Tutorial
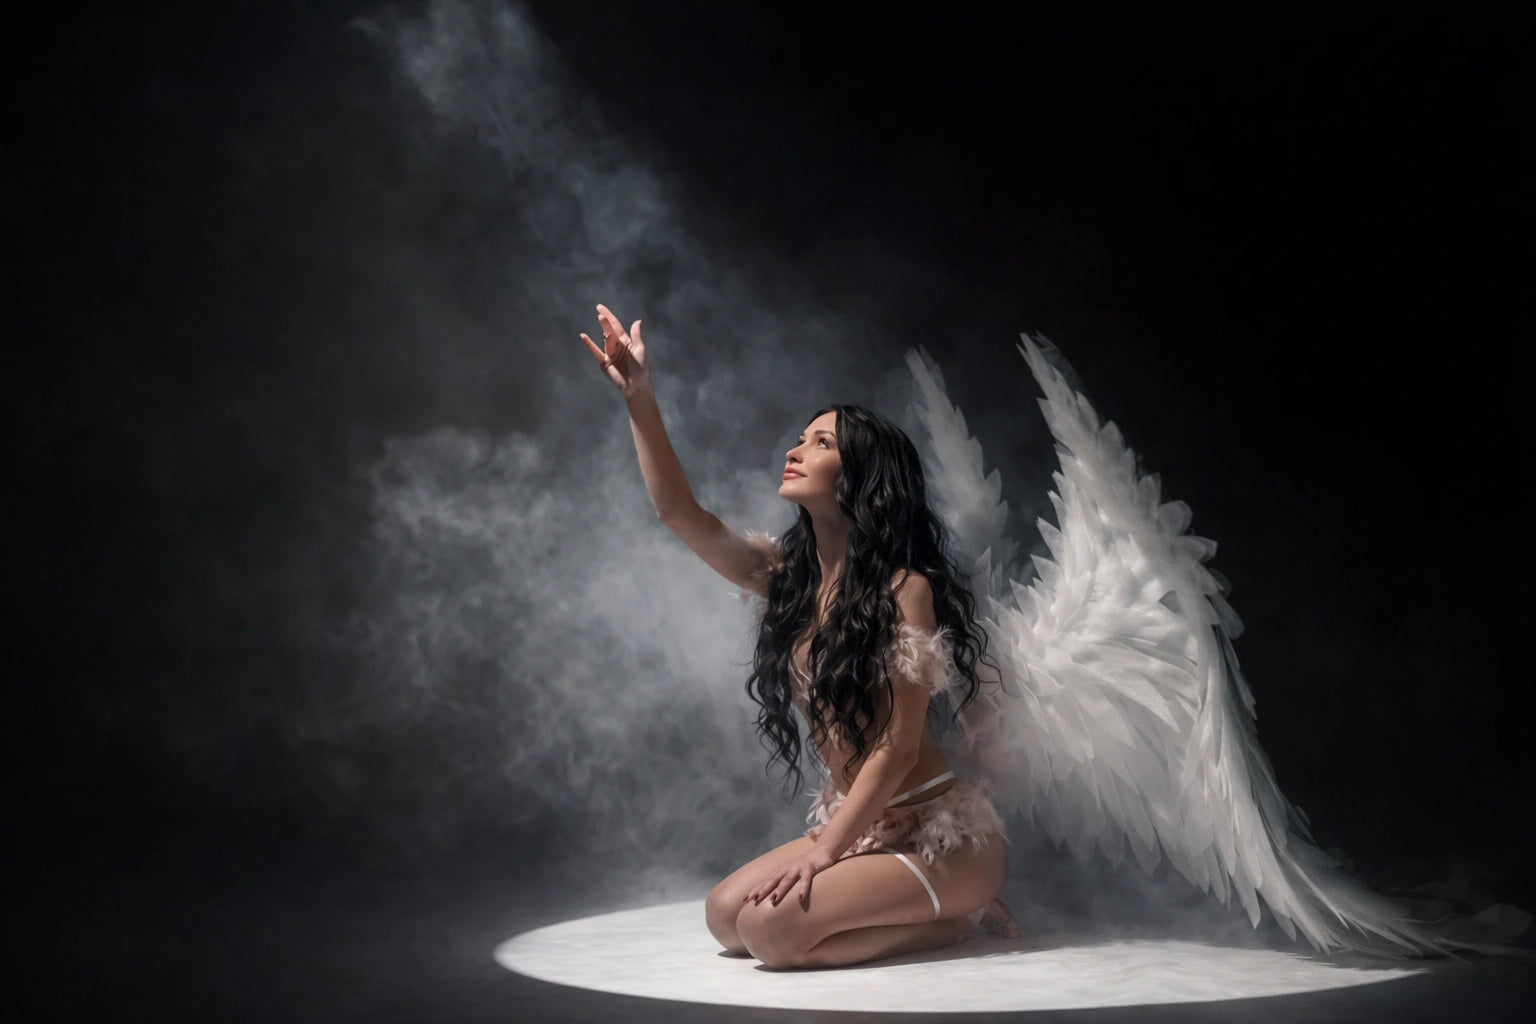
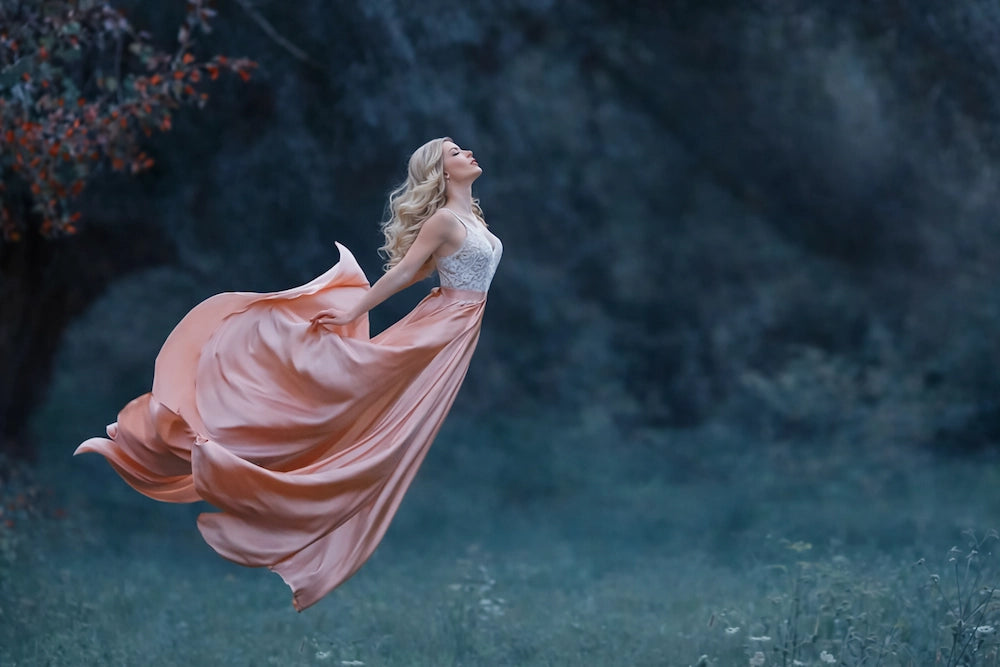
How to Apply a Light Ray Overlay
Light Ray overlays are one of the easiest ways to add depth, direction, and a cinematic glow to your edits.
Place the overlay
Drag and drop the Light Ray PNG into Photoshop and place it above your photo. Use Ctrl/Cmd + T to scale, rotate, and position the rays so they match the light direction.
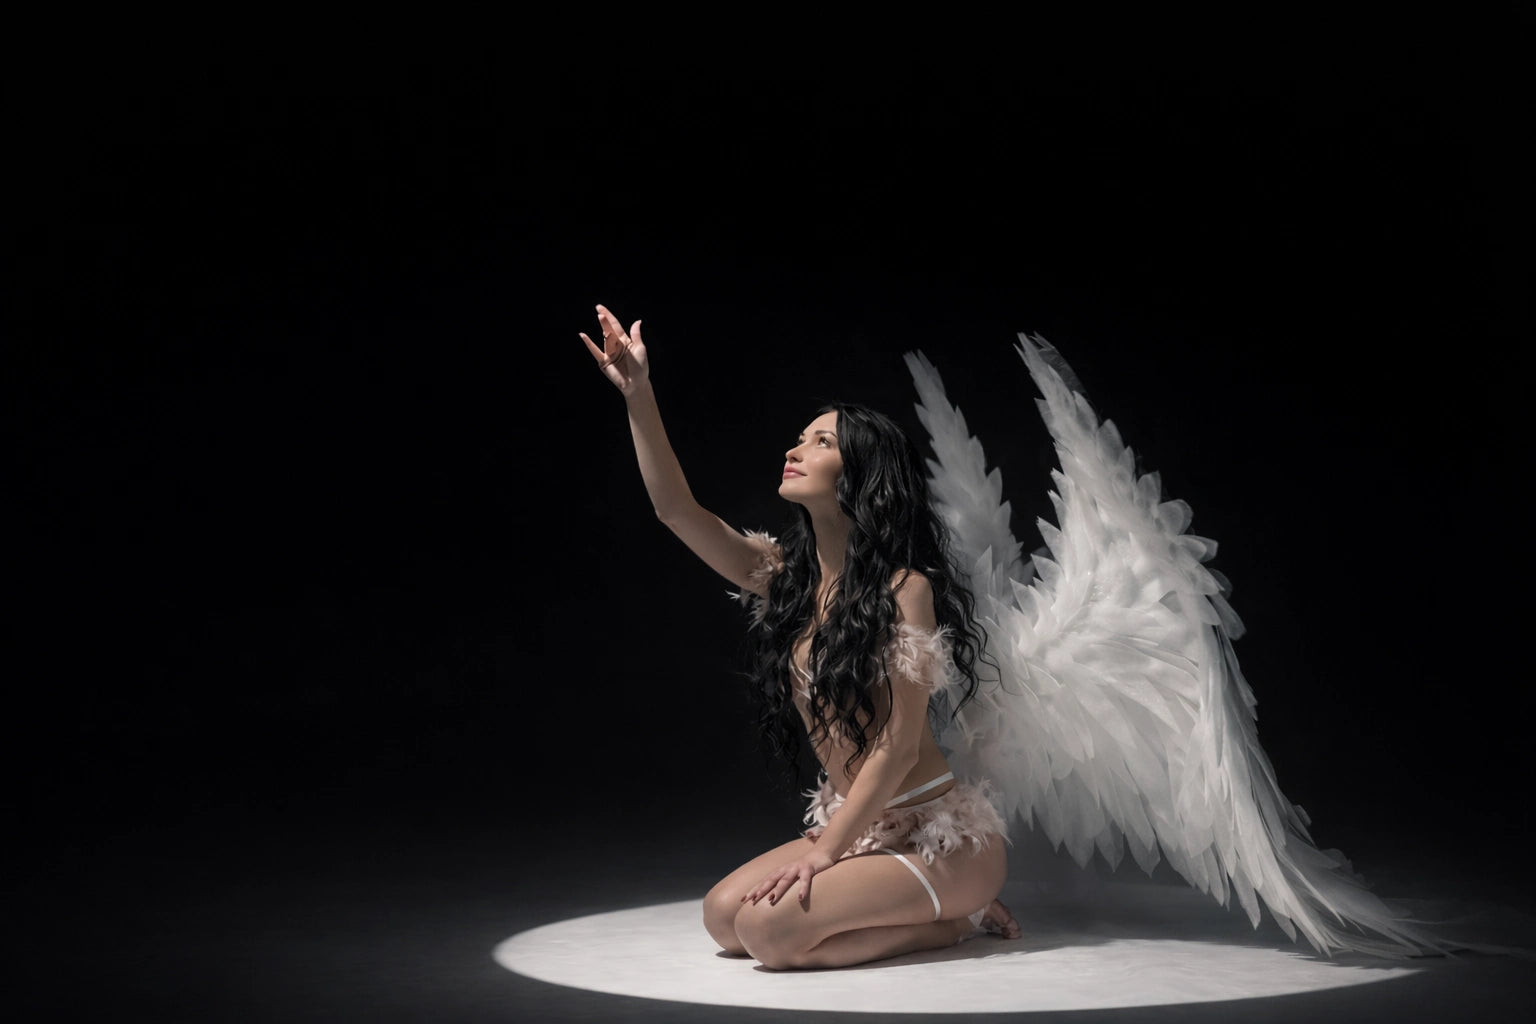
Control the strength (Opacity)
Lower the opacity until the effect looks natural. The best edits feel realistic — the light should blend into the scene, not sit on top of it.
Clean the edges (Levels)
If you see harsh edges or unwanted haze, press Ctrl/Cmd + L (Levels) and push the blacks darker. This cleans the overlay and keeps only the light rays.
Mask for a clean blend
Add a layer mask and use a soft black brush to hide the overlay where you don’t want it. This gives you full control and makes the result look seamless.
Match the color (Hue/Saturation)
To match the overlay to your photo’s color, select the overlay layer and press Ctrl/Cmd + U (Hue/Saturation). Turn on Colorize, add a slight tint, and keep saturation very low for a natural look.
Optional: add Dust for extra depth
To enhance the atmosphere even more, place a dust overlay above the light rays. Adjust opacity, clean the edges with Ctrl/Cmd + L, and mask it softly for a premium finish.
Done
Place the overlay, control the strength, clean the edges, and mask the result. Simple, fast, and instantly more cinematic.

Overlay Tutorial
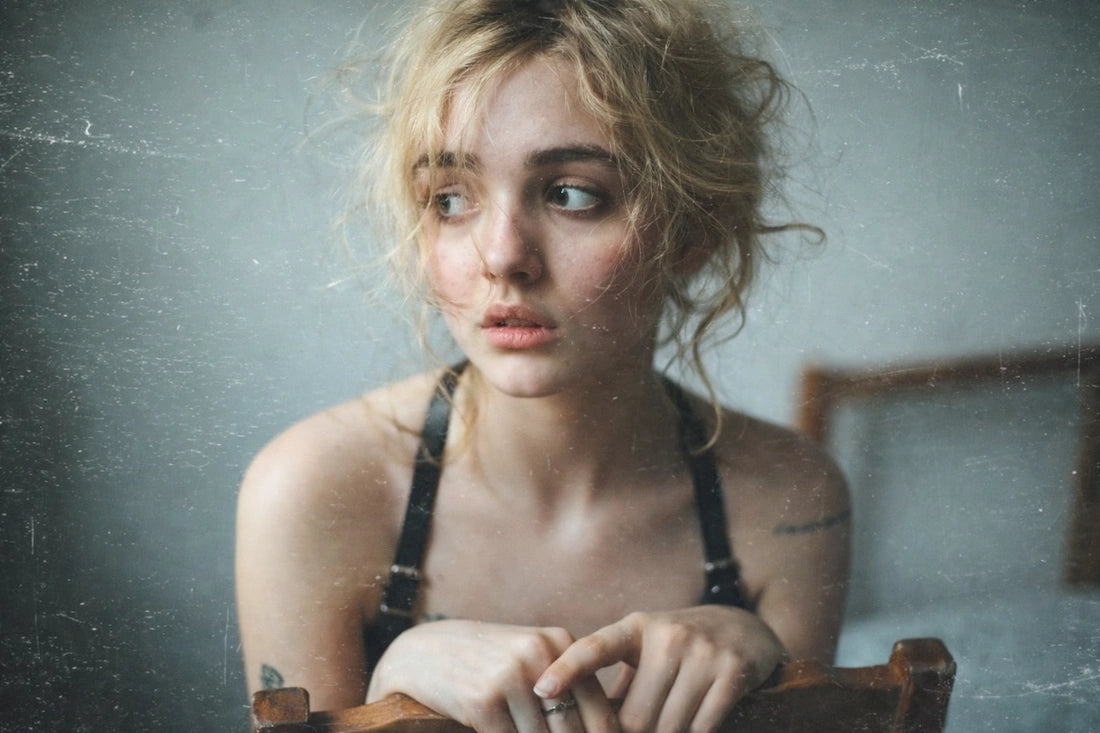
How to Use Dust & Film Grain Overlays
Dust and film grain overlays are used to add texture, depth, and an organic film feel.
When applied correctly, they make digital images feel more natural and less “perfect”.
Add a dust overlay
Import a dust PNG overlay and place it above your image. Use Ctrl/Cmd + T to scale or rotate it if needed. Dust should feel random and subtle.
Control the strength
Lower the opacity until the dust is barely noticeable. The goal is texture, not visible particles.
Clean the overlay (Levels)
Press Ctrl/Cmd + L and push the blacks darker to remove haze and keep only the dust texture.
Add film grain
Place a film grain PNG overlay on top. Reduce opacity heavily — film grain should be felt, not seen.
Mask and fine-tune
Use a layer mask to remove grain from skin or important details if needed. Adjust opacity until the image feels organic and balanced.
Done
Dust adds atmosphere. Grain adds texture. Used together, they give images a clean cinematic finish.
Overlay Tutorial
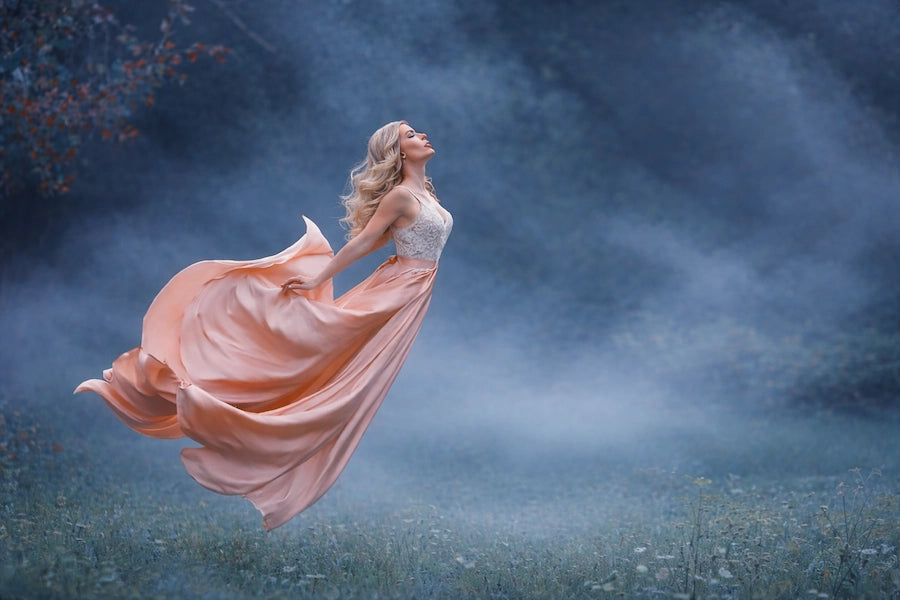
How to Apply a Fog / Smoke Overlay
Fog overlays are perfect for adding depth, mood, and separation between the subject and background.
The key to realistic fog is subtlety and proper placement — not strength.
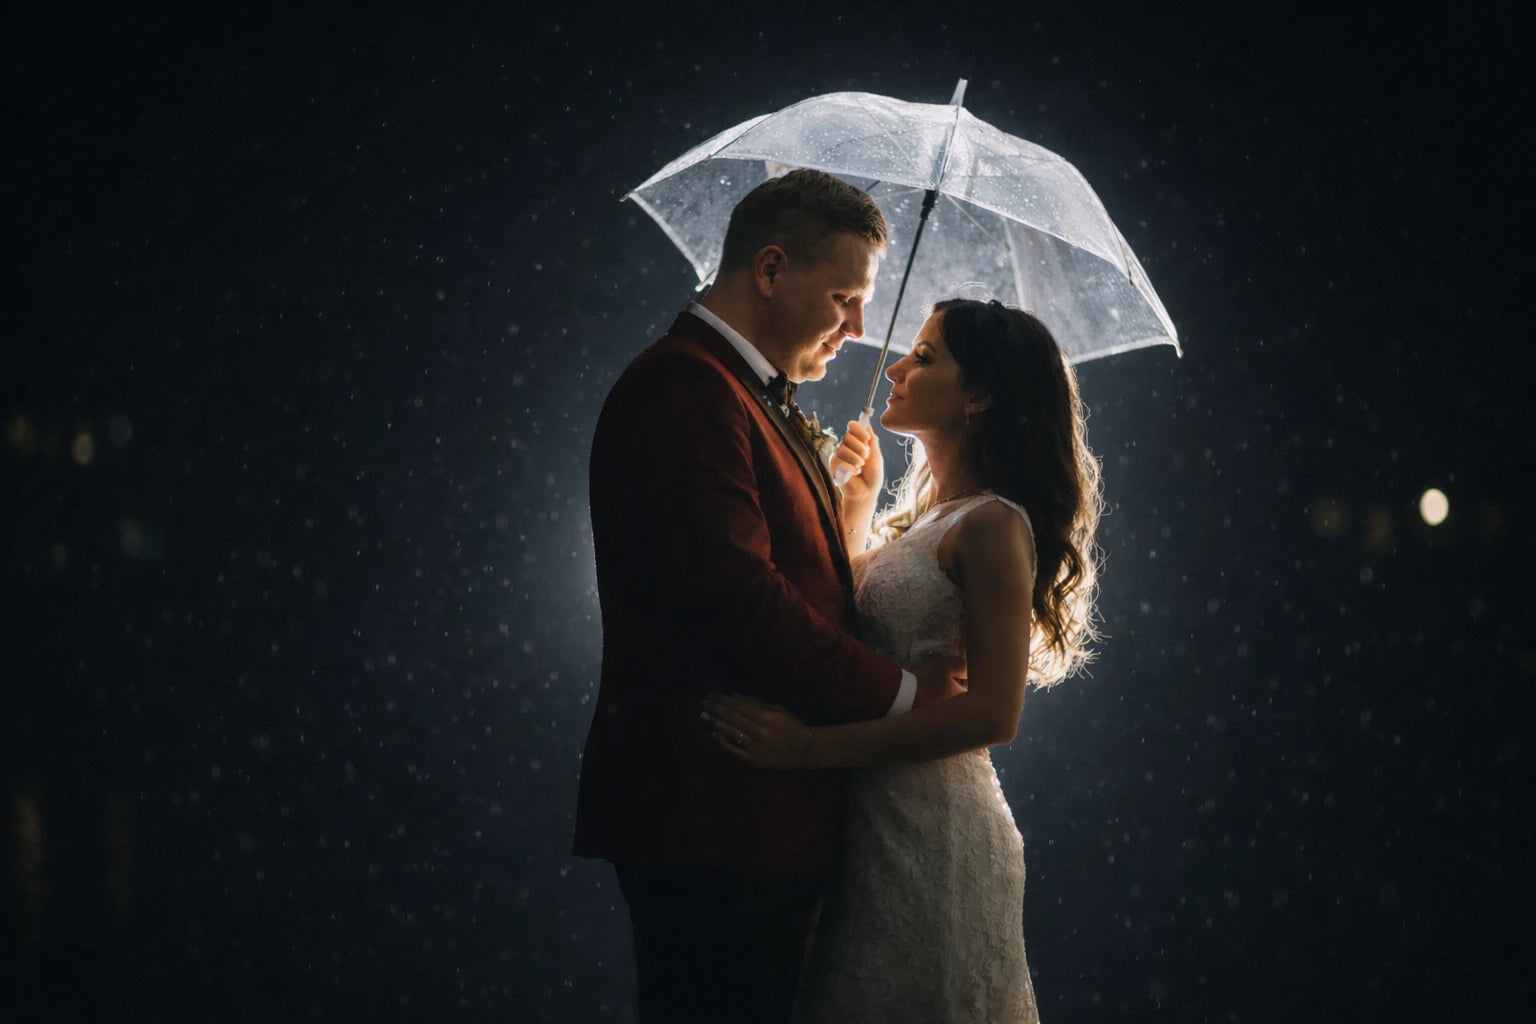
Background rain (small drops)
Import a rain PNG overlay with small raindrops. Scale it down if needed and duplicate it to cover the entire canvas. Lower opacity so the rain stays subtle and feels far away.
Keep rain out of shadows (Blend If)
Double-click the rain layer to open Layer Style. In Blend If, move the dark slider to the right so rain becomes less visible in shadow areas. This instantly makes the rain look more realistic.
Stronger rain in highlights
Duplicate the rain layer and move it slightly. Add an inverted layer mask (hold Alt/Option while clicking the mask icon). With a soft white brush, reveal rain only in bright spotlight areas.
Mid rain (bigger drops)
Import a second rain overlay with bigger raindrops. Scale/duplicate to cover the canvas, then reduce opacity until it blends naturally. Use Blend If again to keep it cleaner in darker areas.
Foreground rain (out of focus)
Add one more rain overlay for the foreground. Apply Gaussian Blur: Filter → Blur → Gaussian Blur and keep it slightly out of focus for depth.
Final balance
Adjust opacity on each layer until the rain looks natural. If you want it stronger, duplicate a layer or use Levels to push whites slightly brighter.
Done
Small background rain + mid layer + blurred foreground rain. Keep rain stronger in highlights and softer in shadows for a realistic result.

Overlay Tutorial
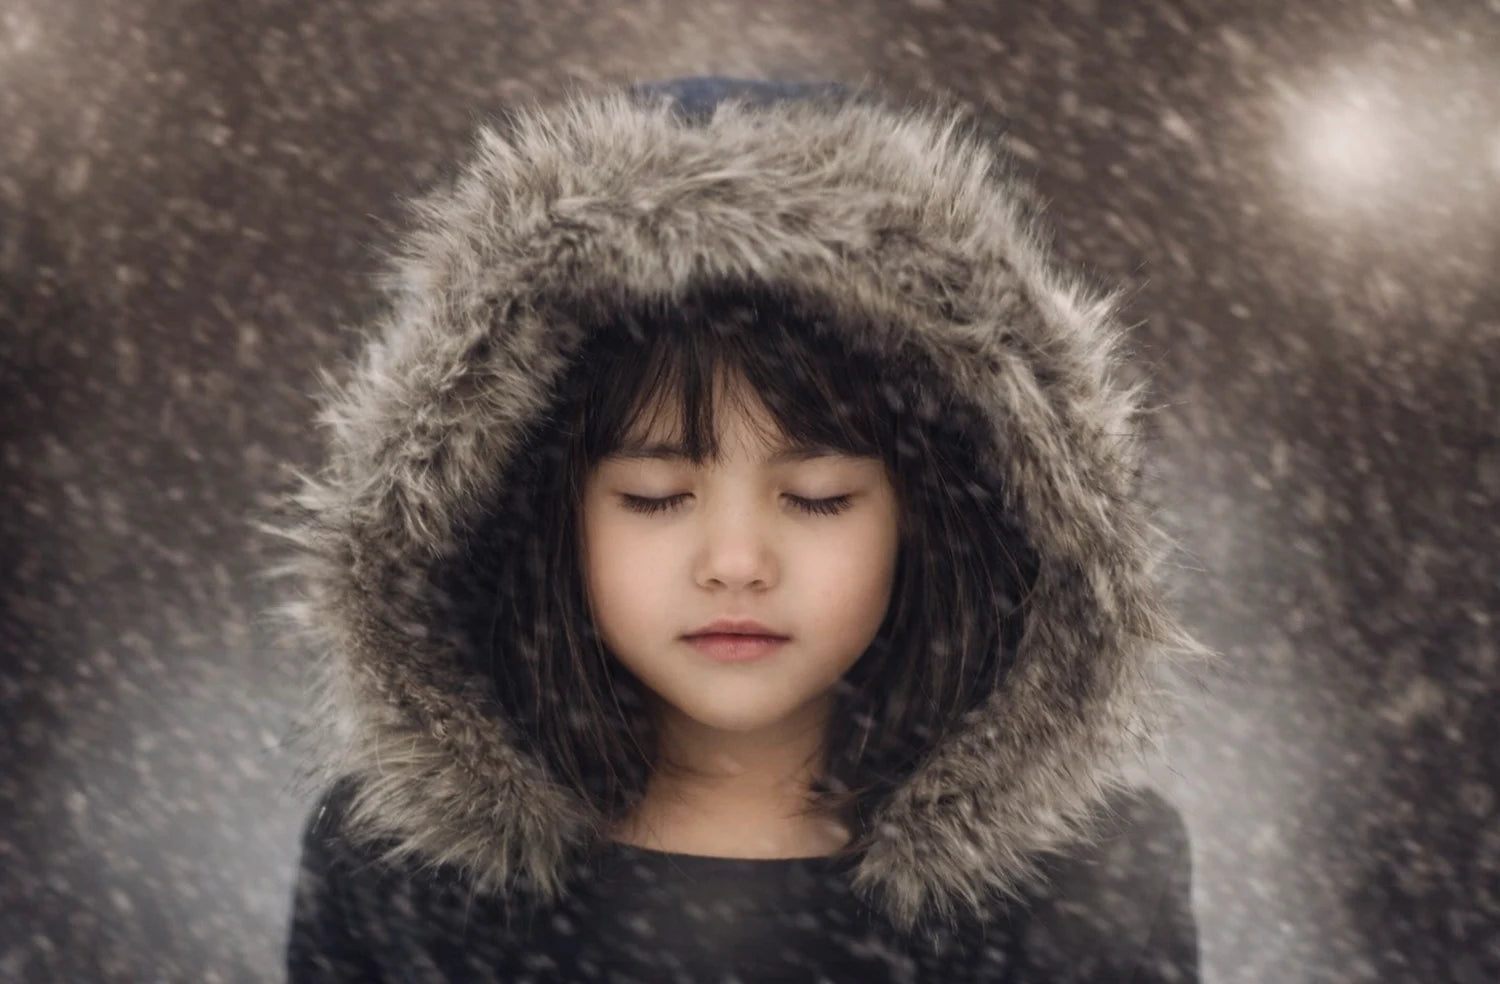
How to Apply a Snow Overlay
Snow overlays are perfect for adding atmosphere, depth, and a seasonal mood.
The most realistic snow effect is built in layers, not with a single strong overlay.
Add background snow
Import a snow PNG overlay with small particles. Scale it down slightly and duplicate it if needed to cover the entire canvas. Lower opacity so the snow feels distant and subtle.
Clean the overlay (Levels)
If you notice any unwanted haze or hard edges, press Ctrl/Cmd + L (Levels) and push the blacks darker.
Add mid-ground snow
Import a second snow overlay with medium-sized particles. Reduce opacity and use a layer mask if needed.
Add foreground snow
Add a final overlay for the foreground and apply Gaussian Blur for realistic depth.
Final adjustments
Balance opacity on all layers. Snow should feel soft and atmospheric, not distracting.
Done
Work in layers: background → mid → foreground. Clean with Levels and mask softly for a premium result.
Overlay Tutorial
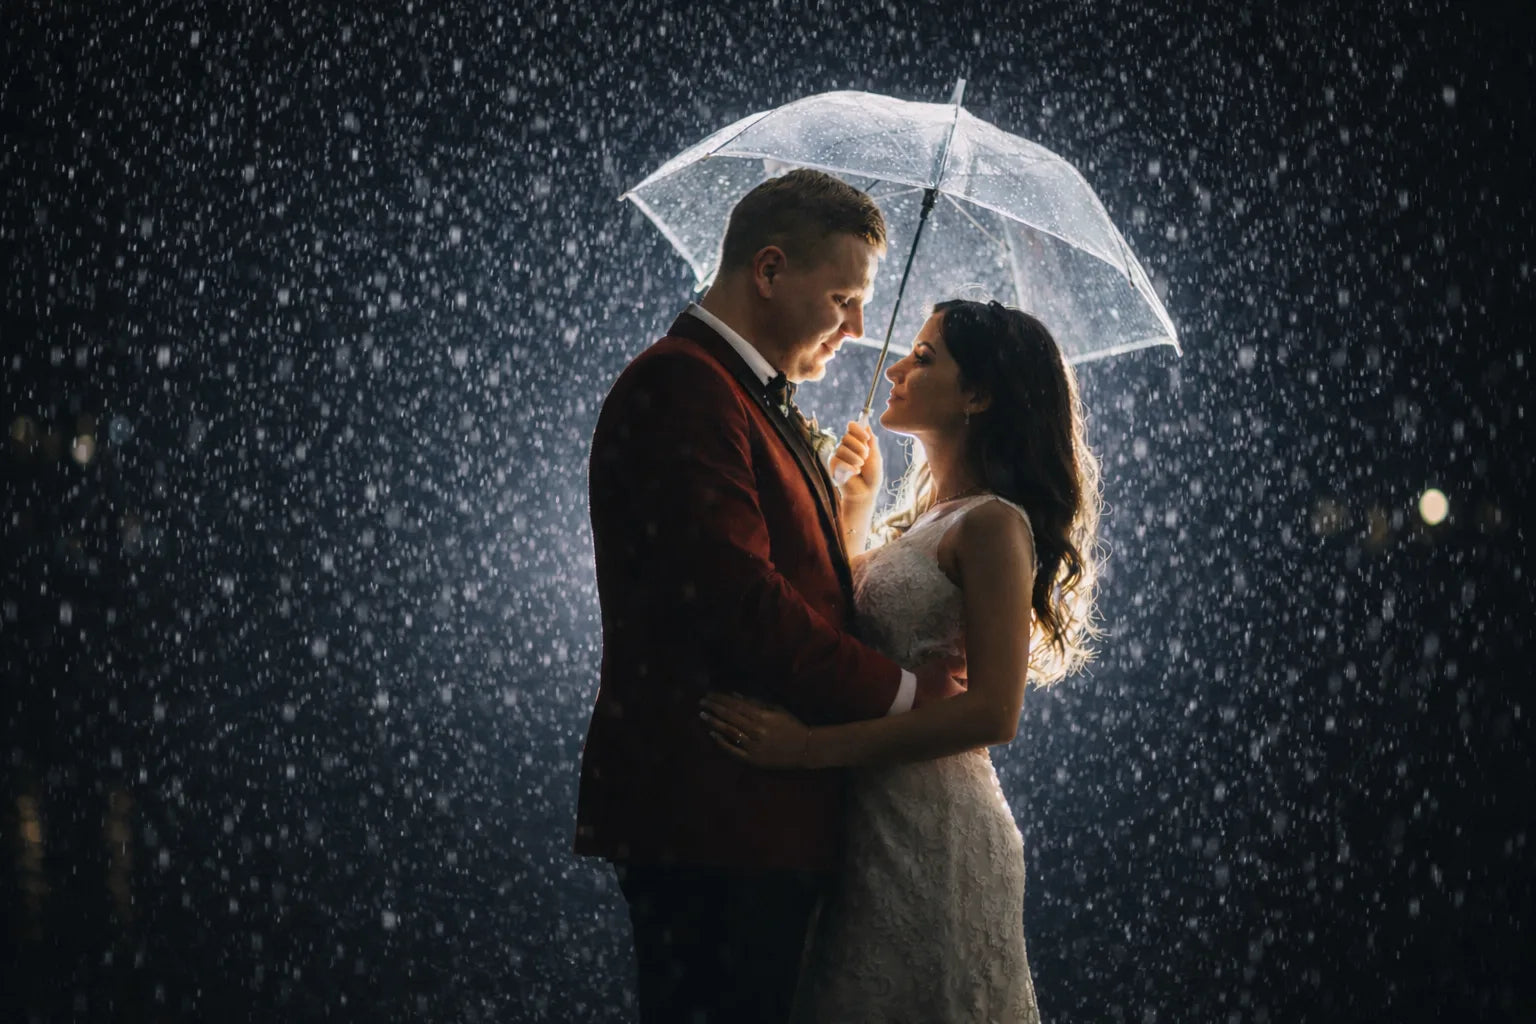
How to Apply a Realistic Rain Overlay
Realistic rain is not one overlay. It’s layers.
Build depth first (small rain), then add medium rain, then finish with a soft blurred foreground layer.
Place the fog overlay
Drag and drop the fog PNG into Photoshop and place it above your image. Use Ctrl/Cmd + T to scale and position the fog where it feels natural.
Set the strength (Opacity)
Lower the opacity until the fog blends softly into the scene. Realistic fog should be barely noticeable but clearly felt.
Clean the edges
If the fog looks too dense or has hard edges, press Ctrl/Cmd + L and push the blacks darker to clean it up.
Mask for depth
Add a layer mask and remove fog from faces, subjects, or foreground details. Keep fog stronger in the background to create depth.
Final balance
Fine-tune opacity and placement until the fog feels natural. The best fog overlays add atmosphere without drawing attention to themselves.
Done
Place the fog, keep it subtle, clean the edges, and mask for depth. Soft fog always looks more realistic than strong fog.