How to Use Photo Backgrounds in Photoshop
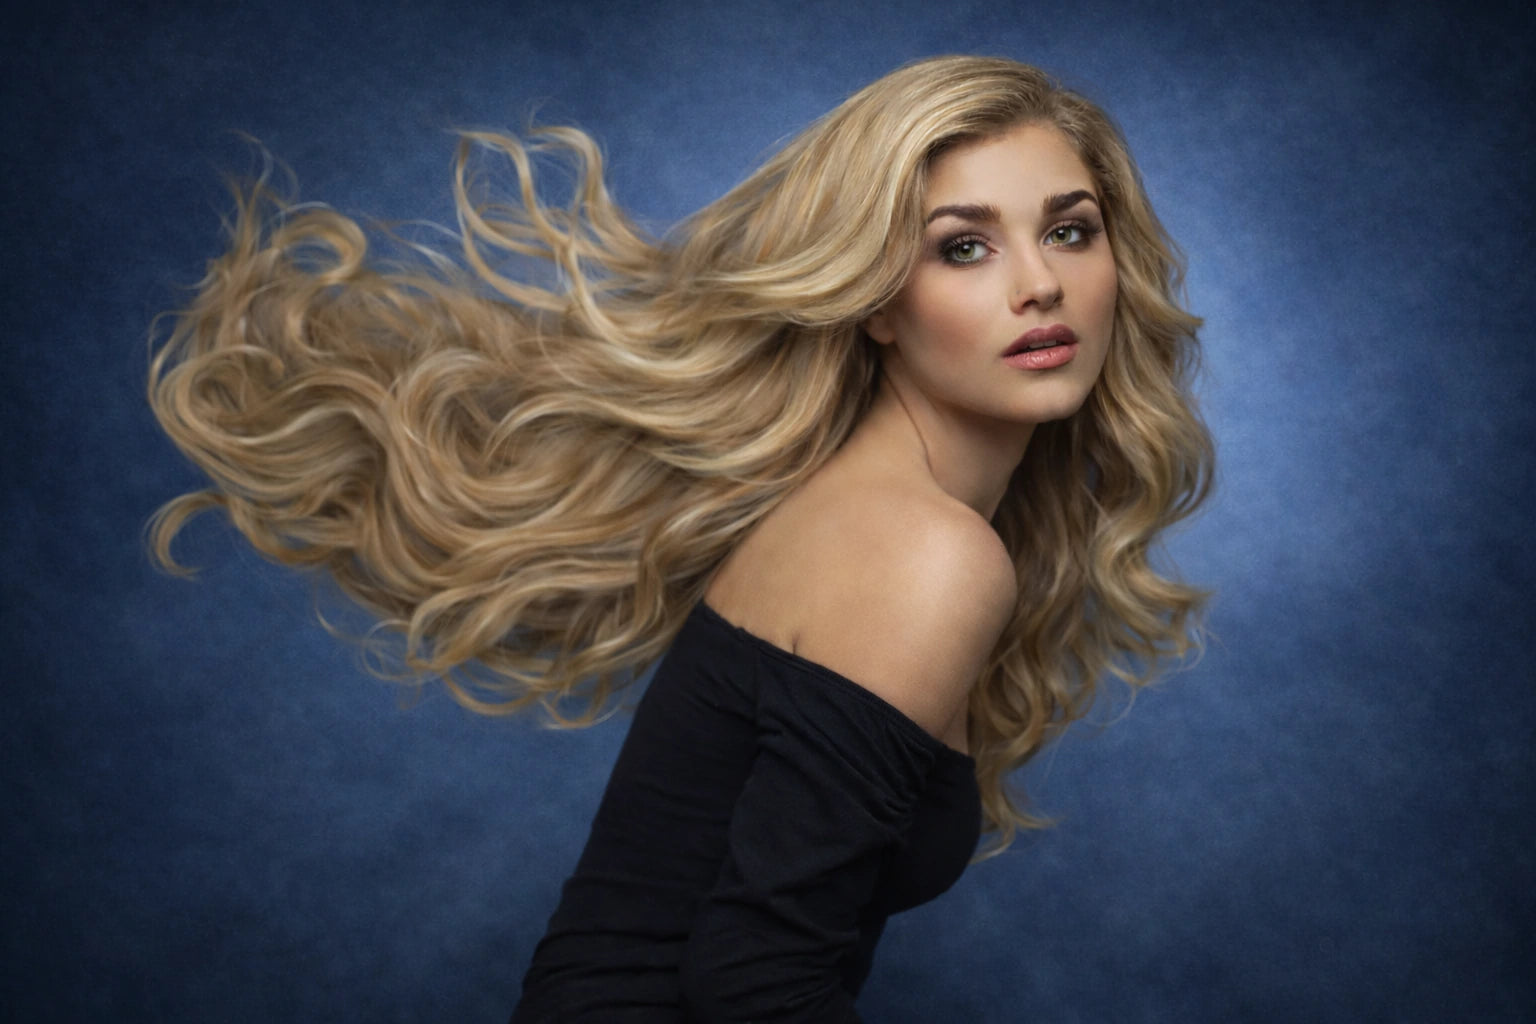
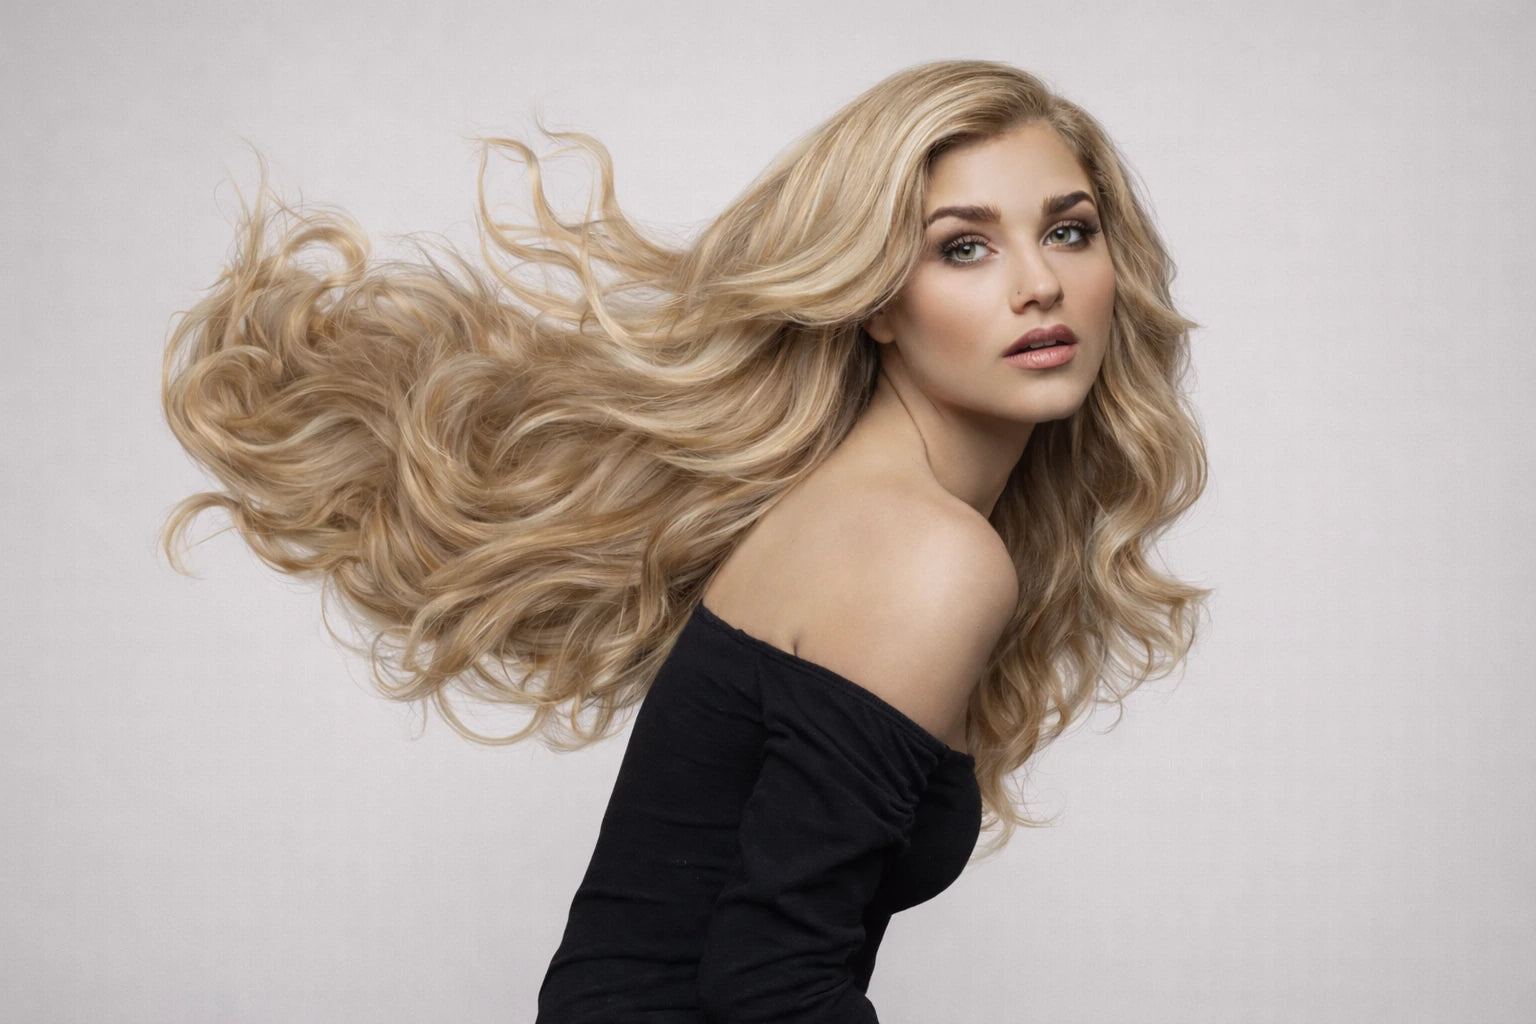
High-resolution portrait backgrounds for clean, professional Photoshop editing and creative compositions
Portrait Backgrounds — Quick Start
If you’ve ever struggled to find the right backdrop for your portraits, digital photo backgrounds are the cleanest and most flexible solution.
In this guide, we’ll walk through how to work with high-resolution portrait backgrounds — from choosing the right scene to blending it naturally with your subject.
By the end, you’ll know how to build polished, professional compositions that look intentional, cinematic, and visually cohesive.
How to Use Photo Backgrounds in Photoshop
Working with digital photo backgrounds in Photoshop is straightforward and flexible. On a basic level, it can be as simple as placing a new backdrop behind your subject and adjusting it to fit the scene.
Here’s a quick step-by-step guide on how to work with portrait backgrounds — a simple version you can follow right away before exploring more advanced techniques later.
Prepare Your Image
Open your portrait in Photoshop and make any basic edits first. A clean, well-exposed subject will make background replacement look far more natural.
Choose Your Background
Browse your collection of photo backgrounds and pick one that matches the mood, lighting, and perspective of your portrait. The right backdrop can completely transform the atmosphere of your image.
Place the Background
Drag and drop the chosen background into your document and position it behind your subject. Resize it if needed so the scale feels realistic and balanced.
Separate the Subject (Masking)
Use a layer mask or selection tools to cleanly separate your subject from the original background. This ensures a smooth transition between the person and the new scene.
Match Light and Color
Adjust brightness, contrast, and color of the background so it matches your subject. Subtle tweaks make the composition look cohesive instead of layered.
Blend for Realism
Add slight blur, shadows, or depth effects if needed. This helps the subject sit naturally inside the new environment rather than looking pasted on.
Final Touches and Export
Refine details, sharpen your subject if necessary, and save your image in your preferred format for print or social media.
Congratulations!
Now you know the basics of working with photo backgrounds in Photoshop.
Next, we’ll look at different types of portrait backdrops, creative use cases, and more advanced blending techniques.
Photoshop Tutorial
How to Apply a Photo Background in Photoshop
Portrait backgrounds are one of the easiest ways to add depth, context, and a polished look to your edits.
Place the background
Drag and drop the portrait background into Photoshop and place it below your subject layer. Use Ctrl/Cmd + T to scale, rotate, and position the backdrop so perspective and horizon feel natural.
Align perspective
If the scene looks off, use Edit → Transform → Perspective (or Warp) to match the angle of your subject and the background.
Control depth (Opacity & Blending)
If needed, lower the opacity slightly or try blending modes like Multiply or Soft Light. The background should support your subject, not overpower it.
Refine contrast (Levels)
If the background looks flat or too bright, press Ctrl/Cmd + L (Levels) and adjust highlights and shadows. Pulling the blacks slightly deeper helps create separation.
Clean edges (Masking)
Add a layer mask to your subject layer and use a soft black brush to clean any rough edges. This ensures a smooth transition between the person and the new background.
Match color (Hue/Saturation)
Select the background layer and press Ctrl/Cmd + U (Hue/Saturation). Turn on Colorize if needed, add a subtle tint, and keep saturation low for a natural match.
Match light direction
Add subtle highlights or shadows on the subject using a new layer set to Soft Light or Overlay. Paint with a low-opacity brush to match the background lighting.
Add realism (Blur & Depth)
If the background is too sharp, apply a slight Gaussian Blur. A gentle vignette can also help keep focus on the subject.
Ground the subject (Shadow)
Create a soft shadow under the subject on a new layer using a black brush with low opacity (or a blurred ellipse shape). This helps the person feel placed in the scene.
Done
Place the background, align perspective, refine contrast, clean the edges, and match color.
Add subtle depth and shadows for realism — fast, polished, and studio-ready results.
to instantly refresh the look of your portraits.